Decor,  DIY,  Holiday

DIY Bottle Brush Tree Forest

Is there anything more magical than a Christmas tree forest in your home? I had a vision of creating a festive bottle brush tree forest on wood to style our fireplace mantel, and Aaron and I made it come to life! I had to share this DIY bottle brush tree forest with you because it was so simple and inexpensive. Keep scrolling to learn how to do this project yourself!

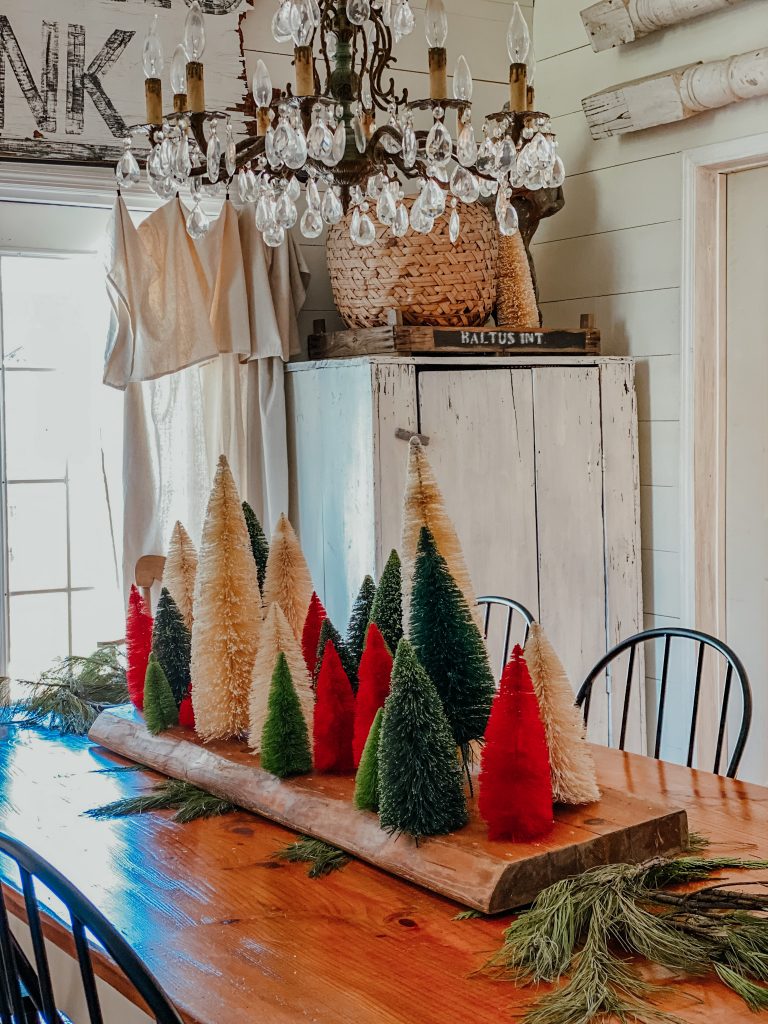
The gist of the project is super simple. Find a piece of wood you like, specifically focusing on the desired size, shape, color. We actually used reclaimed wood. It was originally wood on the top of an old desk! However, you can use any wood whether it’s new, painted, old, upcycled, etc. Try to dig in the shed and use what you have!

Next, drill holes every couple of inches all the way across the wood with a drill bit that’s just slightly bigger than the stems. Then, cut the base off of your bottle brush trees with wire cutters. It’s time to make your forest! 

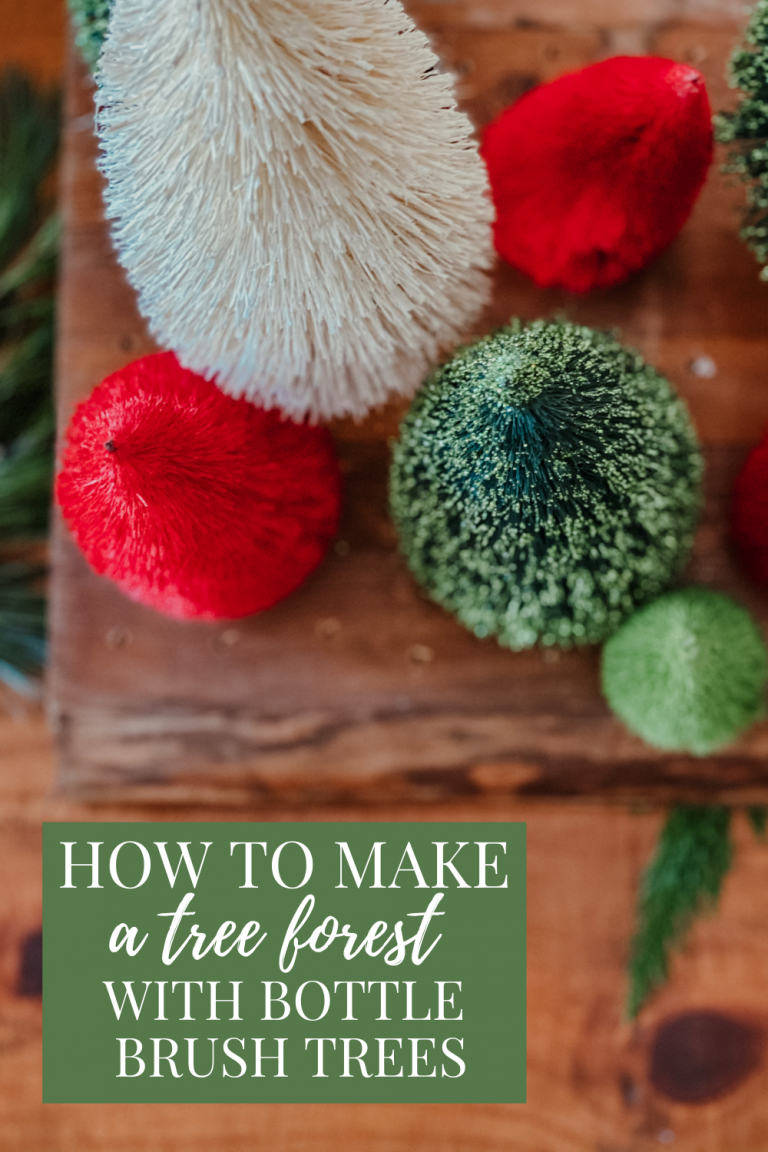
We found our bottle trees at Hobby Lobby, however, I’ve seen them at most stores that carry Christmas decor (Target, Walmart, Home Goods, and more).

I loved how it turned out so much that I had Aaron drill holes in another board and styled it in the dining room as the table centerpiece. So now we have two! The more the merrier, right? 

You can use any colors you want! I used shades of green and white in the living room and shades of green, white and red in the living room. There are so many color options when it comes to bottle brush trees, so go with whatever color(s) feel right to you!


We thought this would make such a fun toy one day! It could be a tree little tree forest. You could even add a few toy cars in the forest. Baby Bowman is on our mind! 

PIN THIS FOR LATER:

Leave a Reply

Your email address will not be published. Required fields are marked *

Hey Girl, let’s keep in touch! 

Subscribe to my mailing list so you’re the first to know!