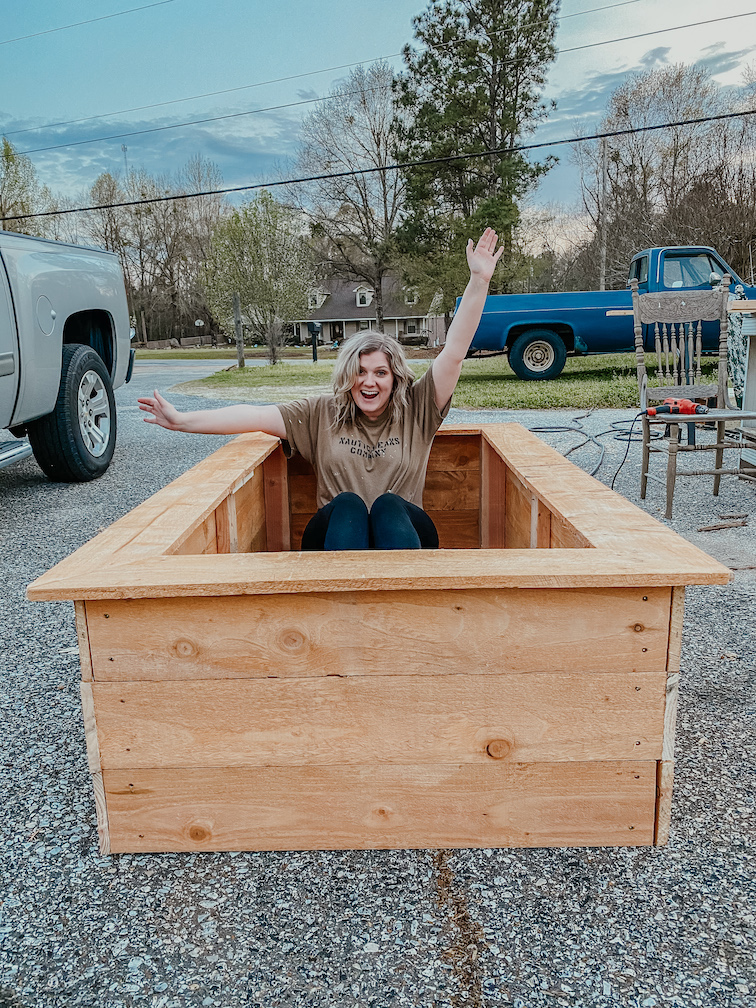
DIY Raised Garden Bed
What we used:
Materials:
6′ Cedar Dog-Ear Fence Boards
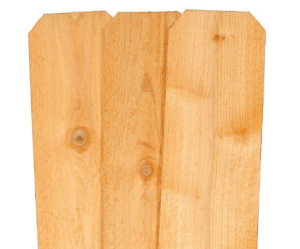
Home Depot Cedar Fence Pickets
For the sides and the top lip, we used cedar dog-ear fence boards. Cedar is the perfect wood to build raised beds out of because it’s naturally resistant to moisture, rot, and insects. It’s sure to last many years. Cedar can be pretty pricey though, so dog-ear boards are a great way to get a really good price on some really solid wood! We just trim the angled dog-ear off the top, and you have an affordable (almost) 6 foot plank of cedar!
Douglas Fir 4″ x 4″ Lumber 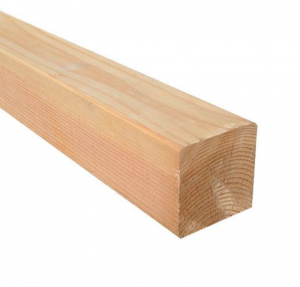
Home Depot Douglas Fir 4″ x 4″
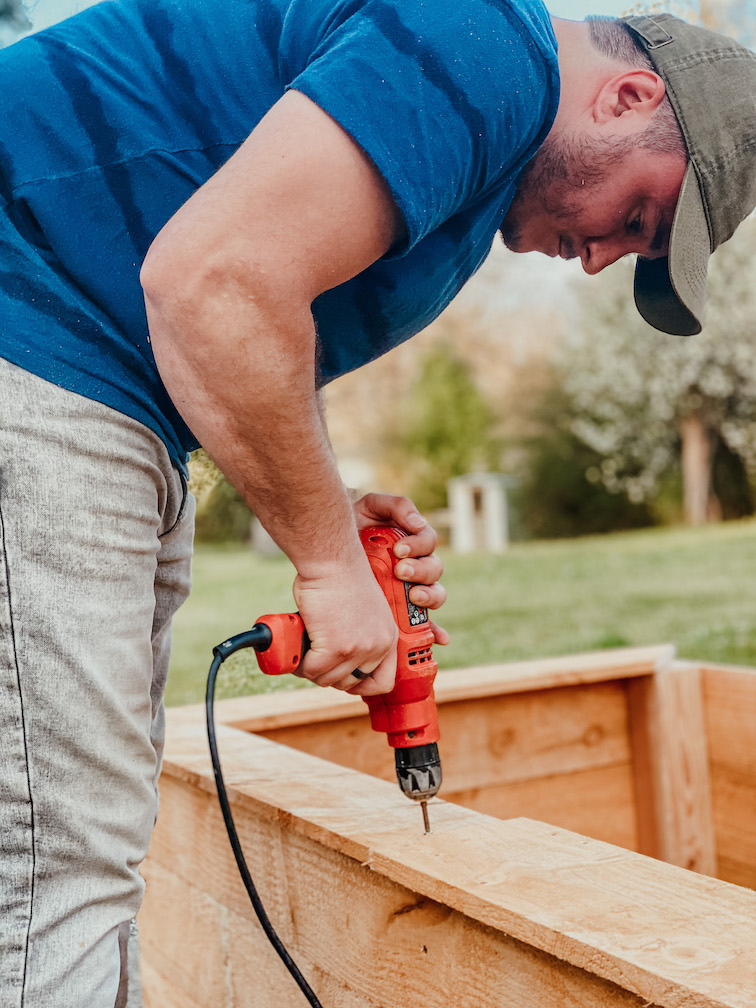
For the corner posts of the bed, we used Douglas Fir 4″ x 4″. Douglas Fir is another wood that is naturally resilient and a great building material for outdoor things such as raised beds. Also, we couldn’t find cedar 4″ x 4″ lumber! So that made the choice easy.
This wood is used as the corner posts inside the bed.
Deck Screws
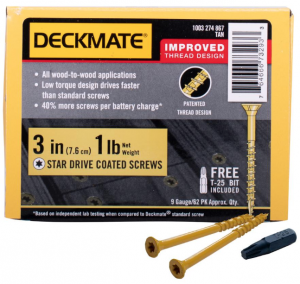
Home Depot Deckmate 3″ Deck Screws
Last but not least, you got to hold it all together! We used these 3 inch deck screws. They’re coated in plastic (or something like that anyway) so they’re sure to last a long time out in the weather!


4 Comments
Teri
Great job you two! ❤️😍❤️
Karlee Bowman
Thank you!!
Lisa
How much soil did it take to fill it?
Karlee Bowman
Hey, about 13 bags of soil.