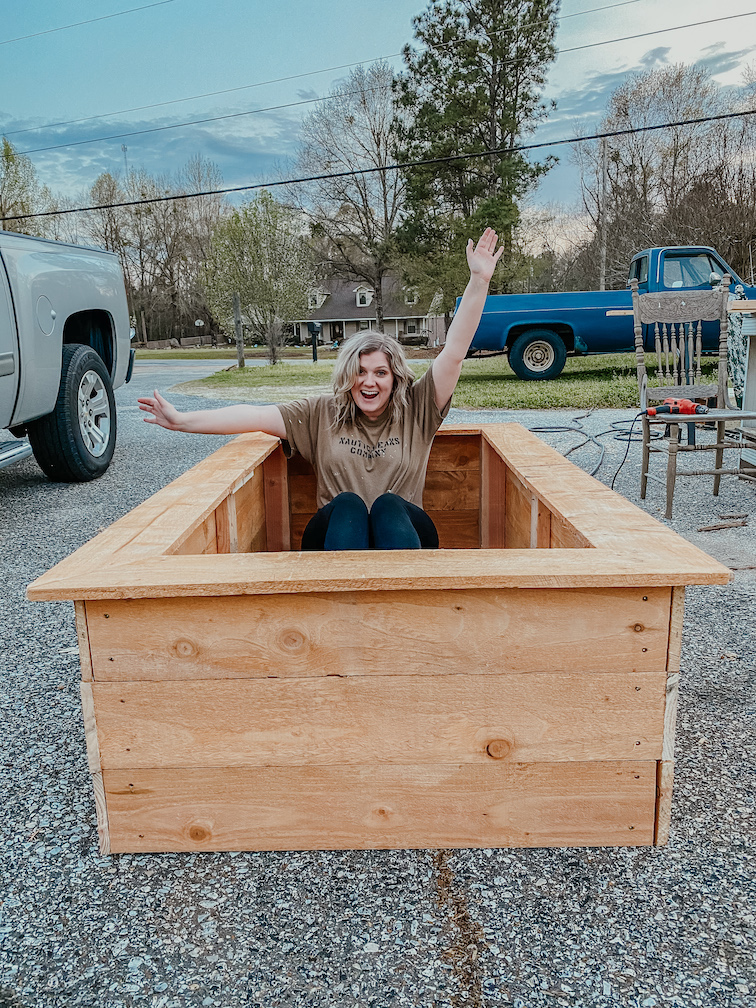
DIY Raised Garden Bed
Spring is officially here! I’m starting to get in garden mode! Last year I kept herbs, roses and hydrangeas alive. This year I’m gonna try added a vegetable garden to that list! Last weekend Aaron made this sweet raised bed for my vegetable garden. I’m SO excited to get to planting!
What we used:
Materials:
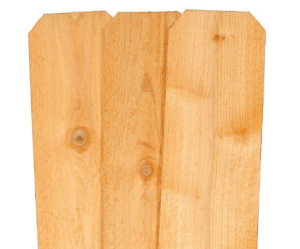
6′ Cedar Dog-Ear Fence Boards
Home Depot Cedar Fence Pickets
For the sides and the top lip, we used cedar dog-ear fence boards. Cedar is the perfect wood to build raised beds out of because it’s naturally resistant to moisture, rot, and insects. It’s sure to last many years. Cedar can be pretty pricey though, so dog-ear boards are a great way to get a really good price on some really solid wood! We just trim the angled dog-ear off the top, and you have an affordable (almost) 6 foot plank of cedar!
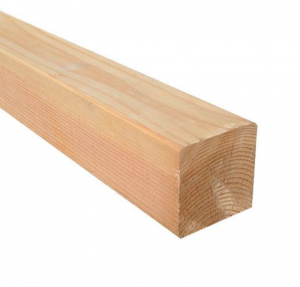
Home Depot Douglas Fir 4″ x 4″
For the corner posts of the bed, we used Douglas Fir 4″ x 4″. Douglas Fir is another wood that is naturally resilient and a great building material for outdoor things such as raised beds. Also, we couldn’t find cedar 4″ x 4″ lumber! So that made the choice easy.
This wood is used as the corner posts inside the bed.
Deck Screws
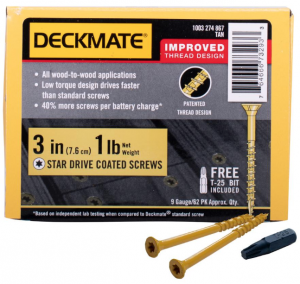
Home Depot Deckmate 3″ Deck Screws
Last but not least, you got to hold it all together! We used these 3 inch deck screws. They’re coated in plastic (or something like that anyway) so they’re sure to last a long time out in the weather!
What we did:
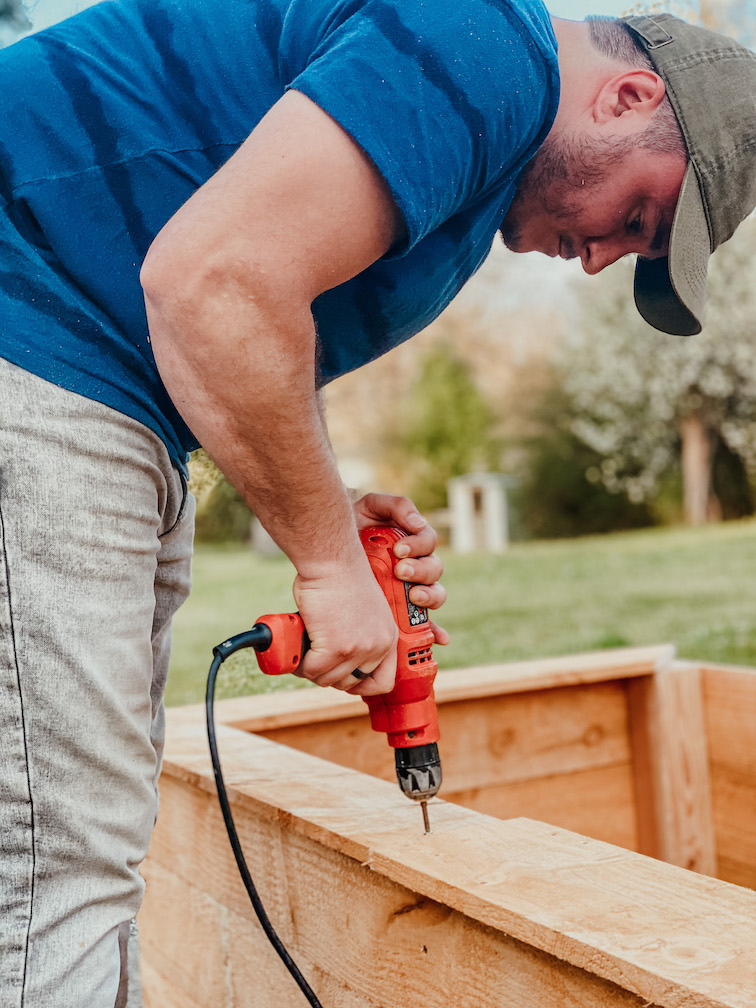
How you build yours might be a little different, depending on the shape and size you’d like! But here are the basic steps that should be easy to replicate!
Steps:
1 – Cut the 4″ x 4″ into 4 posts the height of the raised bed (ours is 16.5 inches tall; 3 of the dog-ear boards side by side.)
2 – Cut the dog-ear (the angled end) of the fence boards off to make a nice straight end.
3 – Cut the dog-ear boards to the lengths desired. For our bed, we left the long ends the full length of the cedar boards; right at 6 feet long. Then we cut 3′ pieces of the cedar boards for the short side.
4 – Attach the cedar boards to the 4″ x 4″ posts to make a bottomless box!
5 – Last but not least, we added a nice lip to the top of the bed to give it a finished look. To do this, cut the ends on cedar boards at a 45 degree angle, so they can meet end to end (similar to a picture frame!) and attach them to the top by screwing the ends of them down to the top of the 4″ x 4″ corner posts.
6 – Test it out by sitting in it! (Especially if your name is Karlee!)
This project really didn’t take too long and I can already tell it was worth the time and money! Wish me luck on keeping those plants alive though! I’ll get them planted soon. I’ll keep you updated, promise!

Check out another DIY Raised Garden Bed by my friends Deb & Britt!


You May Also Like
Designer Looks for Less
May 16, 2022
Chandelier Refresh
March 12, 2019

4 Comments
Teri
Great job you two! ❤️😍❤️
Karlee Bowman
Thank you!!
Lisa
How much soil did it take to fill it?
Karlee Bowman
Hey, about 13 bags of soil.