Decor,  DIY

Peel & Stick Tile

I’ll start by saying this was my husband’s idea! He said, “we should order some peel and stick tile and do a backsplash for our tub/shower.” Of course I loved that idea!! 

I jumped online and ordered this tile No doubt, it definitely is BEAUTIFUL! However, my husband pictured using 12″x12″ vinyl tile.  The tile I ordered is a few steps up from that! It looks and feels like a mosaic tile. It’s GORGEOUS stone-like peel and stick tile! But it’s a little more work than what my husband meant when he said peel and stick tile. Let’s be clear – 100% WORTH IT! 

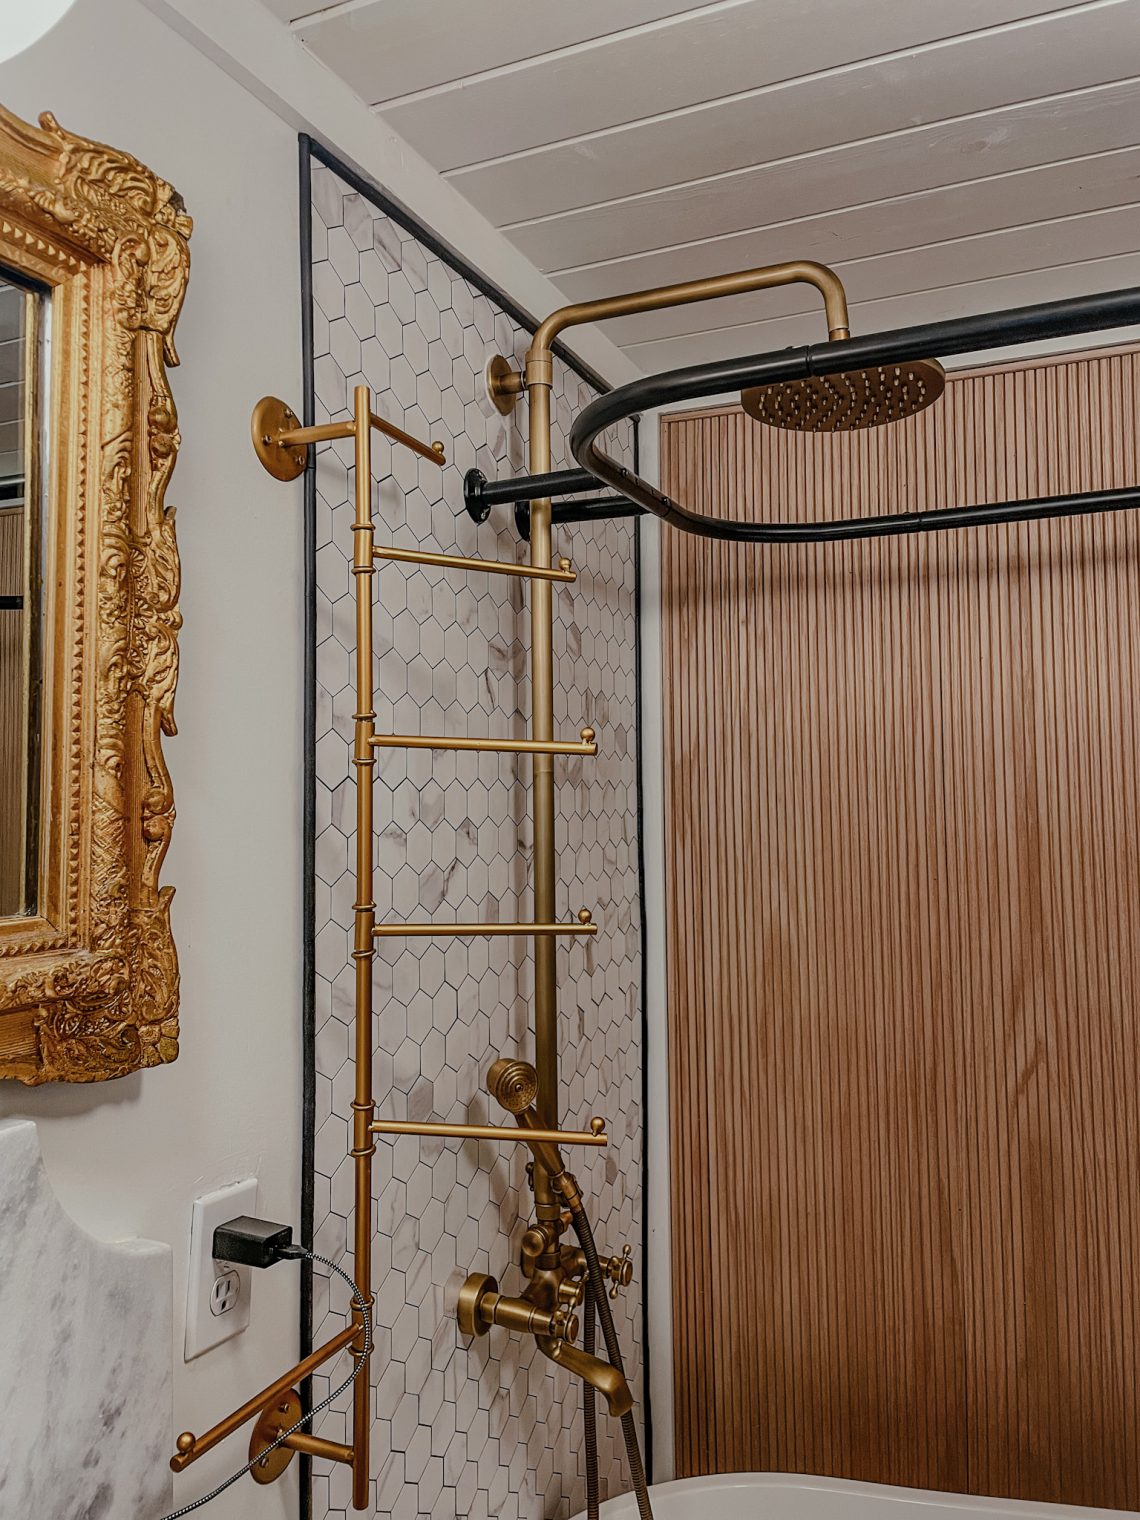
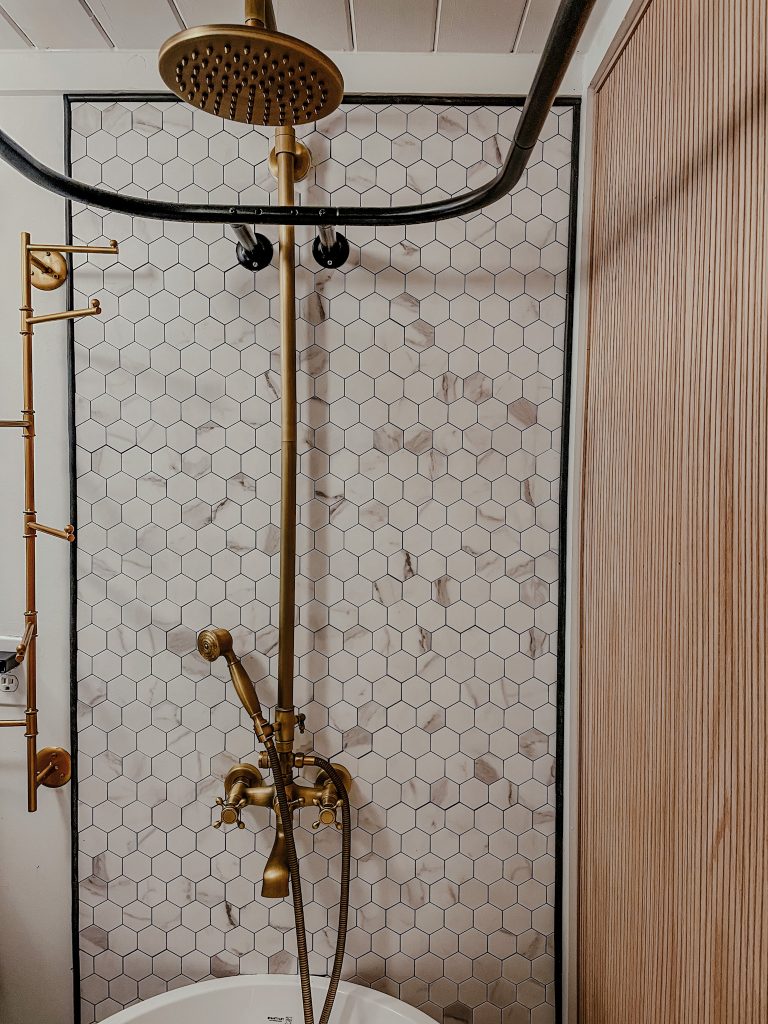
The tile  comes in sheets with a backing that you just peel off. The adhesive is very strong. All you do is peel off the backing and press it on to the wall. 

What I wish I had known…

I wish I had kicked off this project by  painting the wall black. I went back with a tile grout because between the sheets of tiles, you could see the white wall. If I had painted that wall behind the tile black first, I doubt I would have had to use grout at all. This would be my #1 advice to anyone who does this project! 

My second #1 advice is make sure you’re using a level. Walls aren’t always straight so use a level as you go to make sure you’re on the right track. Don’t trust the wall because chances are it’s not actually straight. 

But how do I cut it? 

Great question.. I’m glad so many of my IG buddies asked! The directions say you can use a box cutter and you “can”! You can score it over and over and then bend it until it pops off. But there’s a layer of the tile that’s made out of metal, so it’s a little tough. I found it to be much easier to use an oscillating multitool. Trust me – this isn’t a scary power tool. This was my first time using it and I got each cut right, including the first! Once I started using this tool, the cuts took no time at all! 

What about the edges?

Trim is what makes things look finished! Luckily they make a peel and stick tile trim and it’s so easy to work with! It’s a rubbery material and you can cut it to size with scissors. This was the easiest part of the job yet it made the project look finished! 

Leave a Reply

Your email address will not be published. Required fields are marked *

Hey Girl, let’s keep in touch! 

Subscribe to my mailing list so you’re the first to know!